2: Set Telehealth workflow
Provide timely coordination and payment details to your patients.
* If you are not using telehealth, you can skip this section
Before we start with the steps, please choose your scenario! Are you using 1 virtual room for all your appointments? (scenario 1) or are you using 1 different link per appointment? (scenario 2)
Scenario 1: Using virtual Room (1 link for all your appointments)
Go to the Telehealth tab (in the top blue bar)
Click on the gray dropdown in the right-hand corner and select the provider you want to set up.
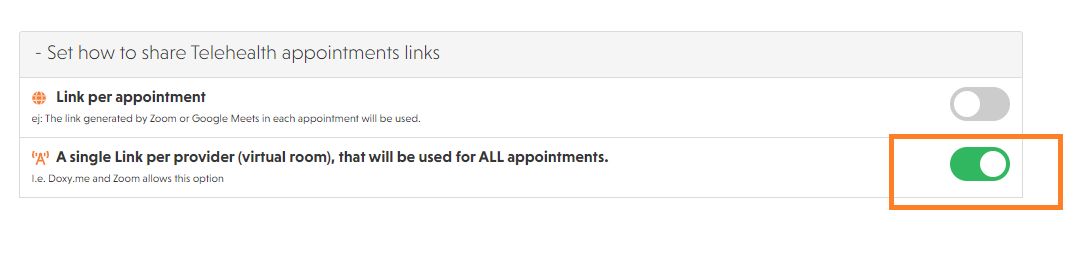
Scroll down to Set how to share Telehealth appointments links section and enable the second option called A single Link per provider (virtual room), that will be used for ALL appointments.
Paste the link in the Virtual room URL (if this applies) section

Scenario 2: Using a different link per appointment
Go to the Telehealth tab (in the top blue bar)
Scroll down to Set how to share Telehealth appointments links and enable the second option. Link per appointment.
Last but not least - Customize your payment instructions!
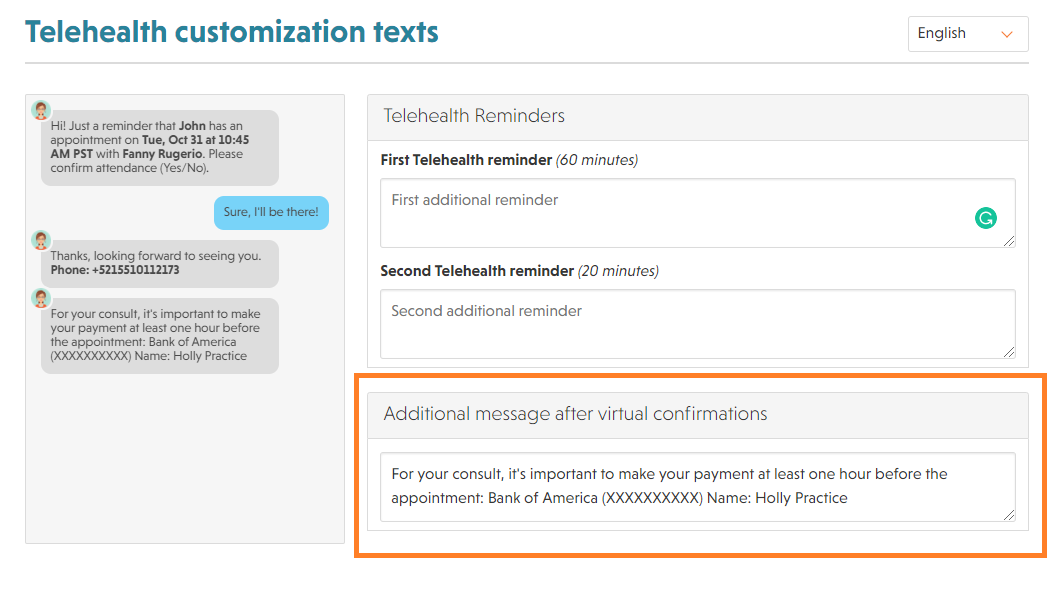
Scroll down until the Telehealth Customization texts section.
In the Additional message after the virtual confirmation box, add your payment information. Holly won’t forget to send it!
If you have more questions, do not hesitate to contact support@nimblr.ai we will be happy to help you.